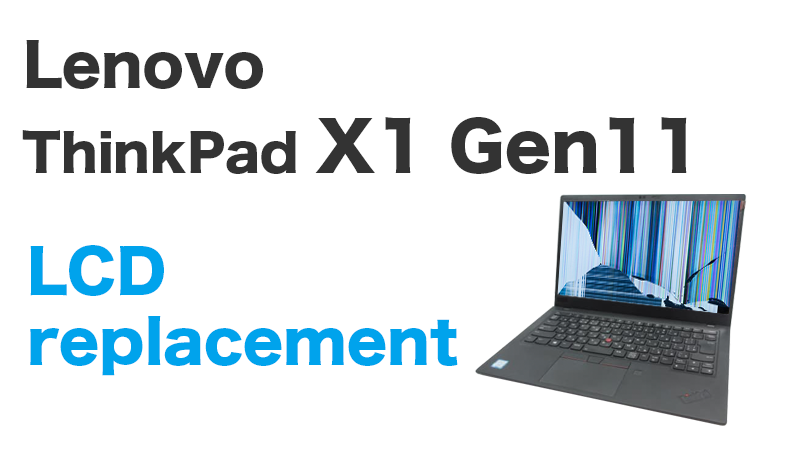
Models with the Same Design
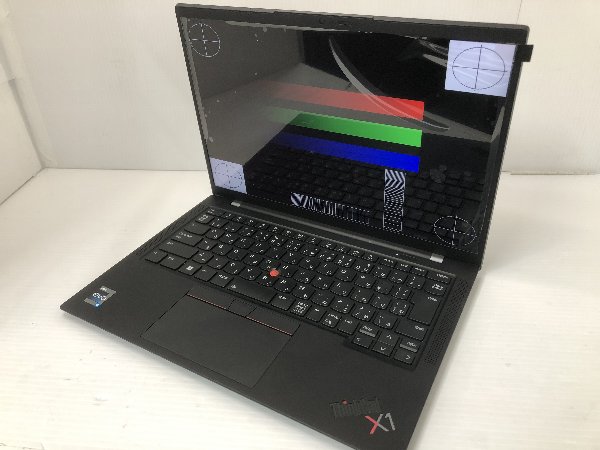
ThinkPad X1 Carbon Gen11
21HM0035JP
21HM001CJP
Please check the LCD frame, keyboard, and main body cover. If they have the same shape, there is a high possibility that they can be replaced.
If you were able to replace them with a different model, please let us know via the report form if there is a model with the same structure.
LCD
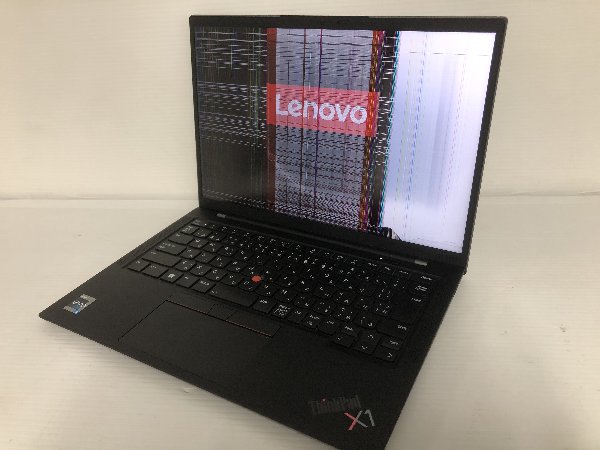
Check if the webcam and frame are the same.
Keyborad

Check the keyboard frame and power button.
Cover
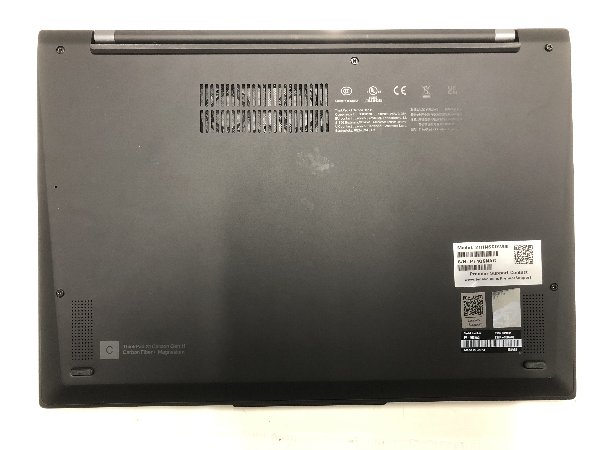
Check the screws and fan exhaust port.
Lenovo Official Maintenance Manual
Specs:EN
User Guide:EN
Maintenance Manual:PDF
html
Video Manual:Removing the LCD Panel / Hinges
LCD Replacement Procedure
It is cracked.
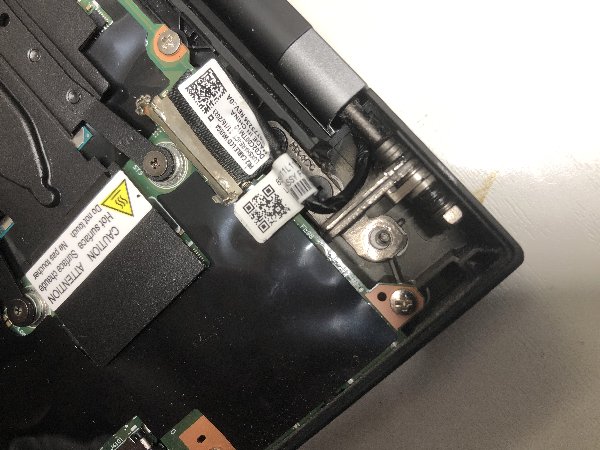
Related URLs:
Collection of sample images of LCD panel failures
Remove the four screws on the back of the unit.

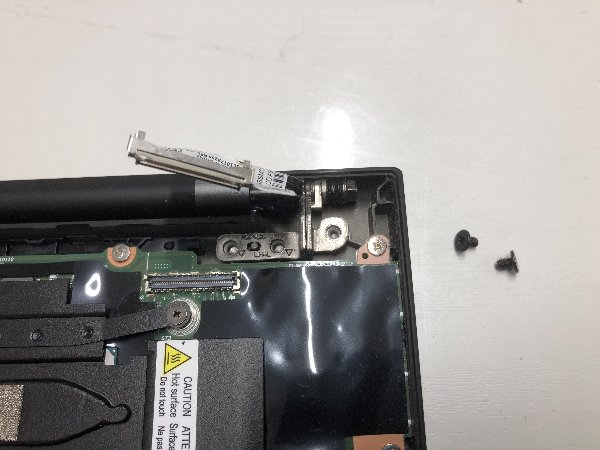
Remove the battery.
※ Be sure to do this. Replacing the LCD panel while the battery is attached may cause a short circuit in the computer.
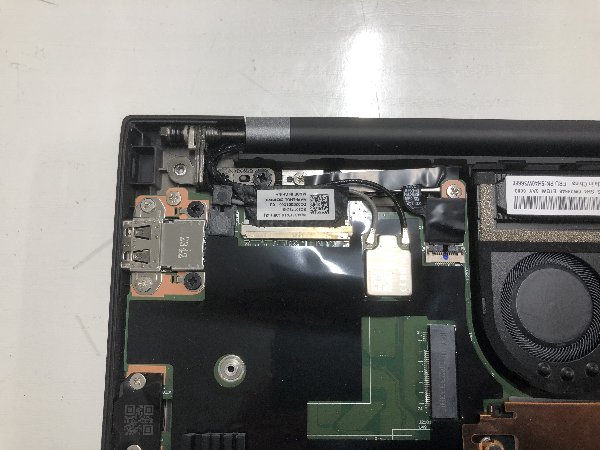
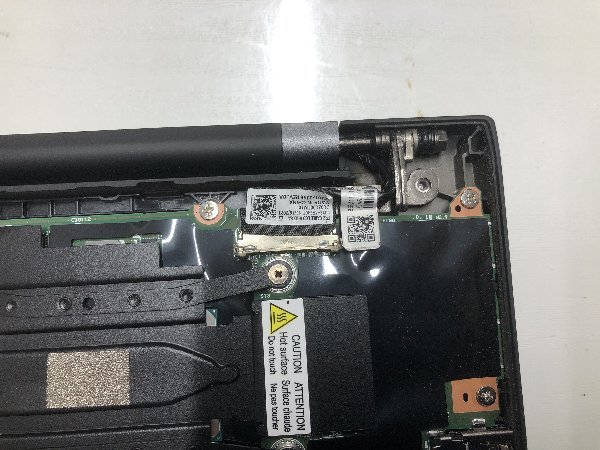
Remove the LCD cable and hinge fixing screws.
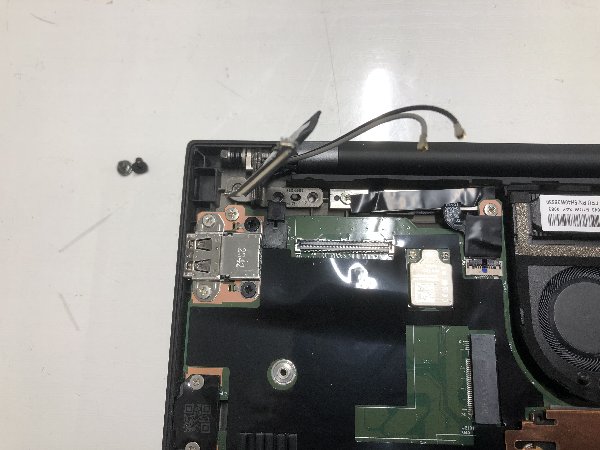
Lift the lock that secures the LCD cable.
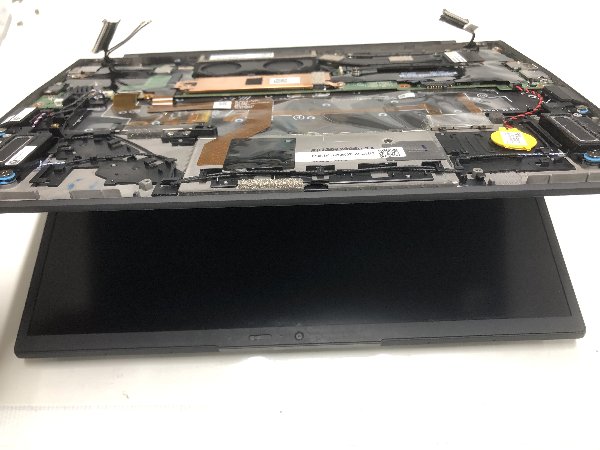
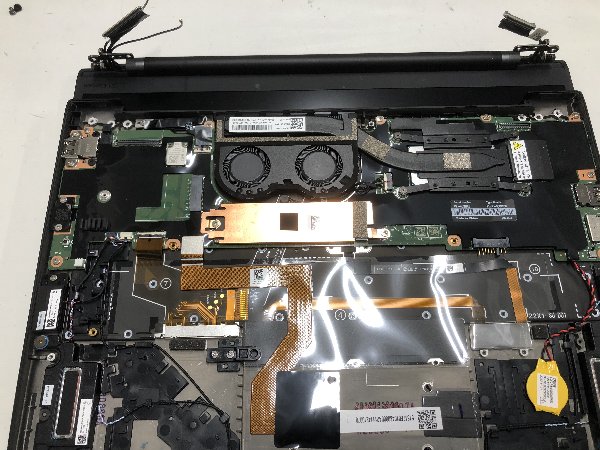
Remove the Wi-Fi cable. There are two hinge fixing screws.
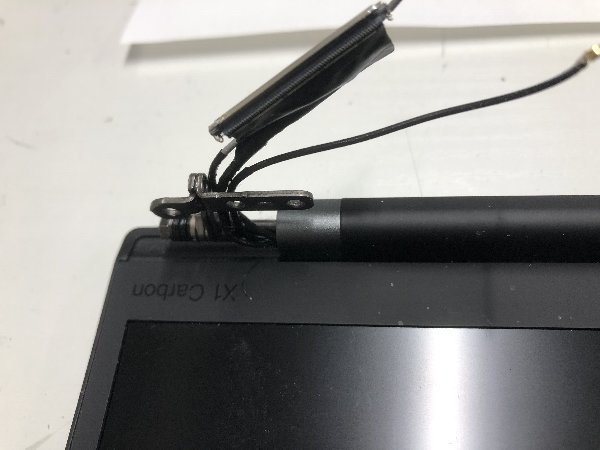
Remove the webcam and hinge fixing screws.
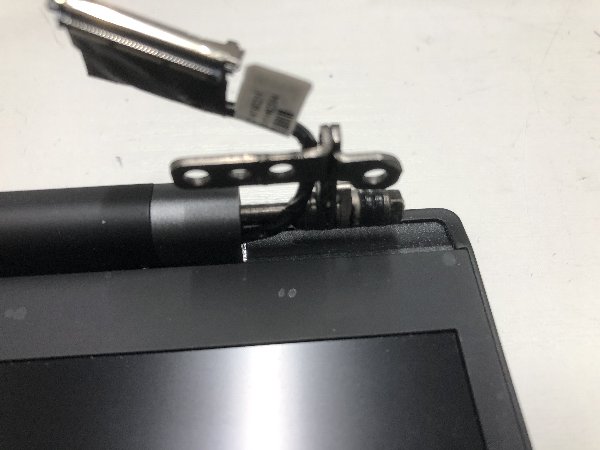
Remove one screw securing the fan and lift the heatsink.

Take out the webcam cable.
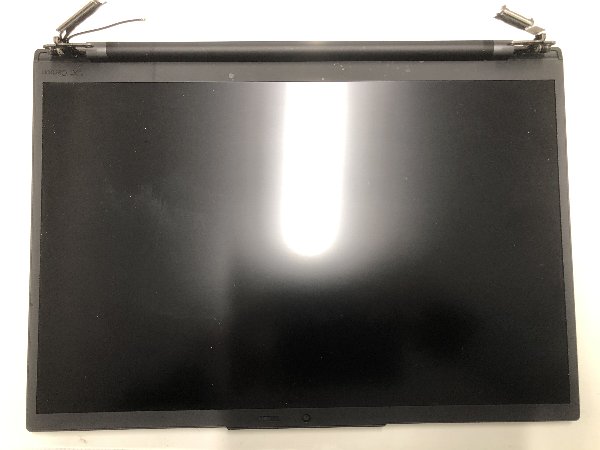
Slide to separate the LCD unit from the main body.
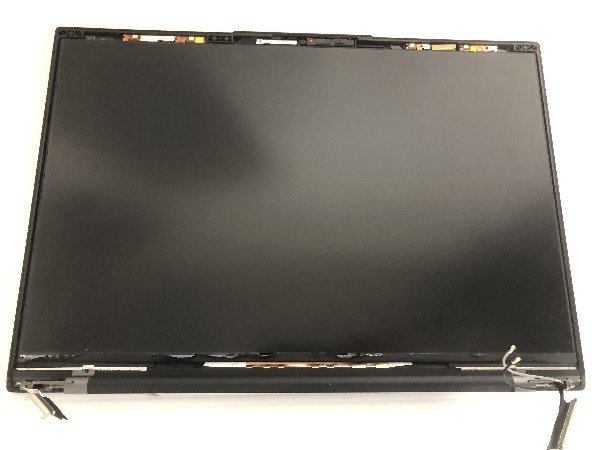
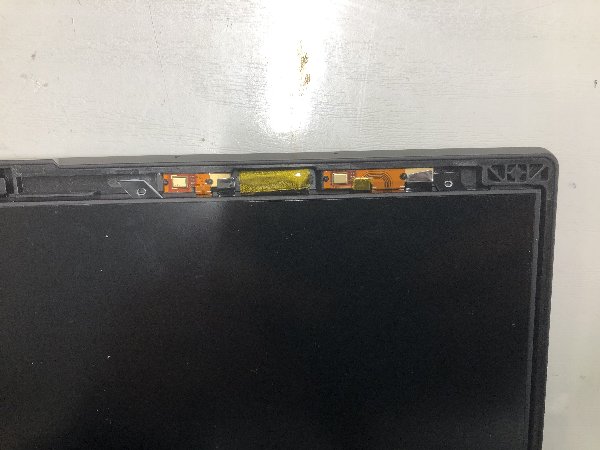
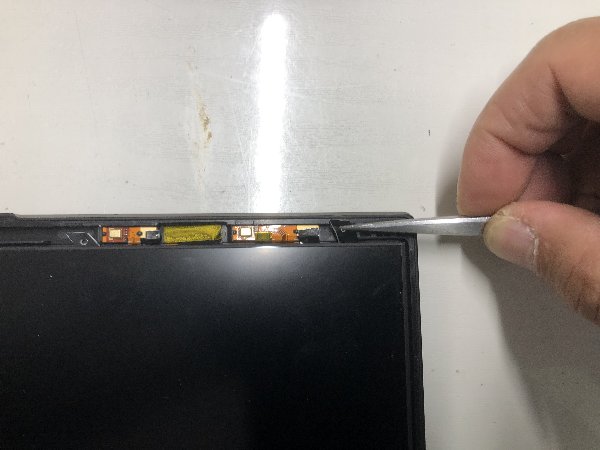
The LCD panel frame is fixed with double-sided tape. Since it is thin and may tear, remove it slowly.
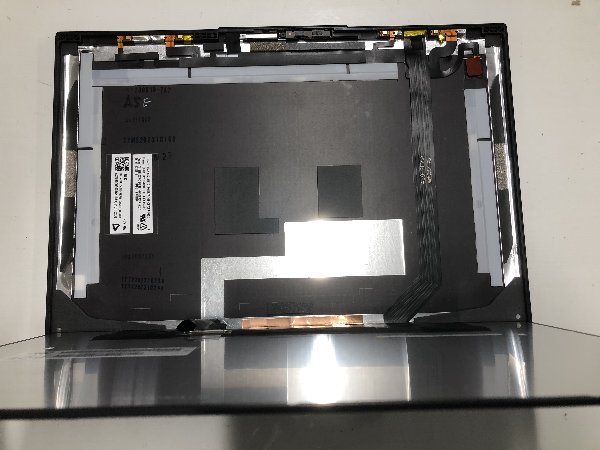
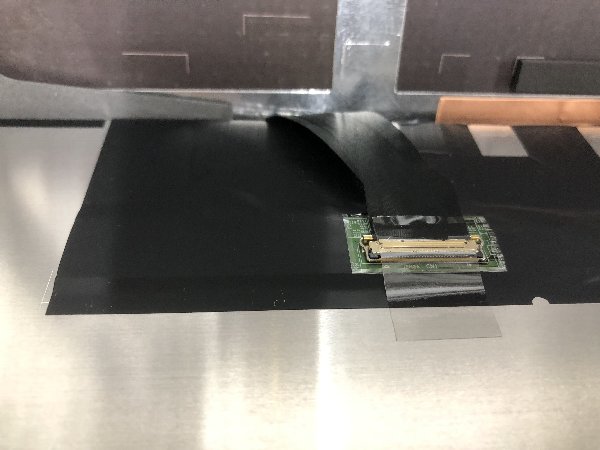
Use tweezers to pull out the double-sided tape from the top of the LCD panel. Once gripped, pull it straight out with your fingers.
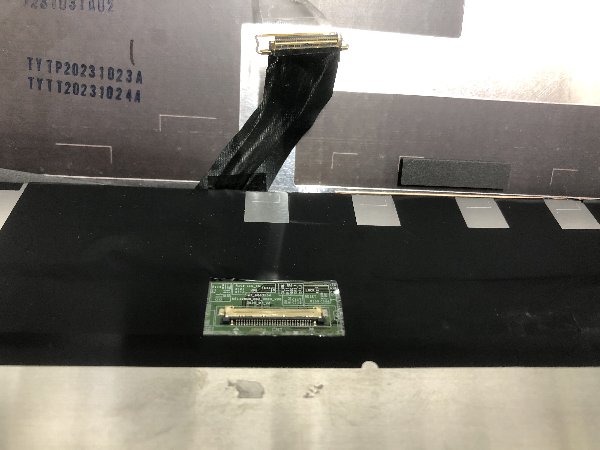
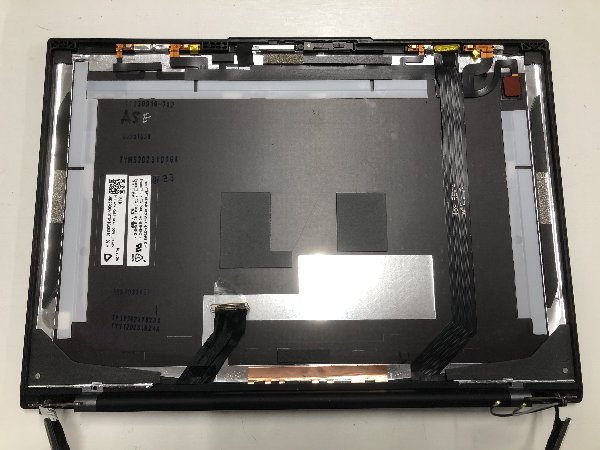
The tape extends from all four sides of the LCD panel: top, bottom, left, and right. A total of four pieces.
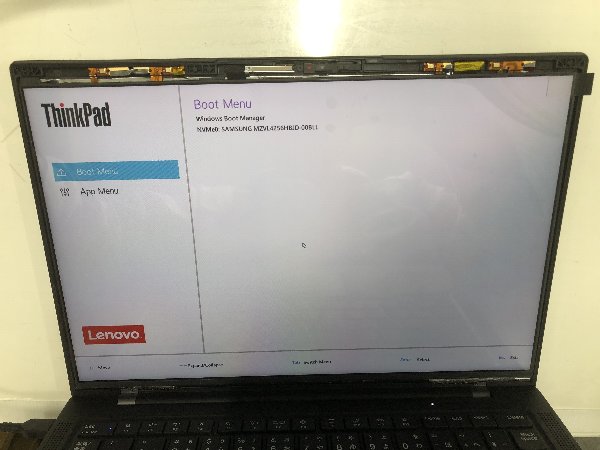
There is also tape in the center. If it is difficult to see, remove it with a spatula.

Remove the LCD cable.


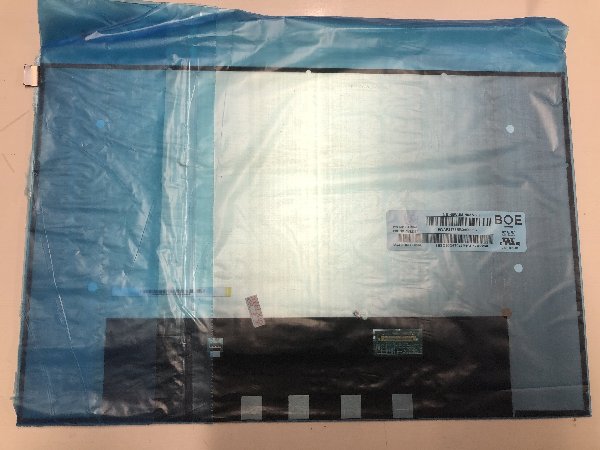
Prepare a new LCD panel.

Install in the reverse order.

The display is working normally.


